使用 springboot 构建非 web 项目
1. 实现功能基本描述
-
今天我们来使用 springboot 搞一个非 web 项目玩玩,我们更加注重实现啊,所以其中的逻辑就很简单了。
-
实现功能:通过 main() 方法传入两个数字,进行求和打印。
2. 具体实现
1. 先初始化一个项目
-
我们可以通过 spring 官方提供的初始化工具,创建一个项目。
-
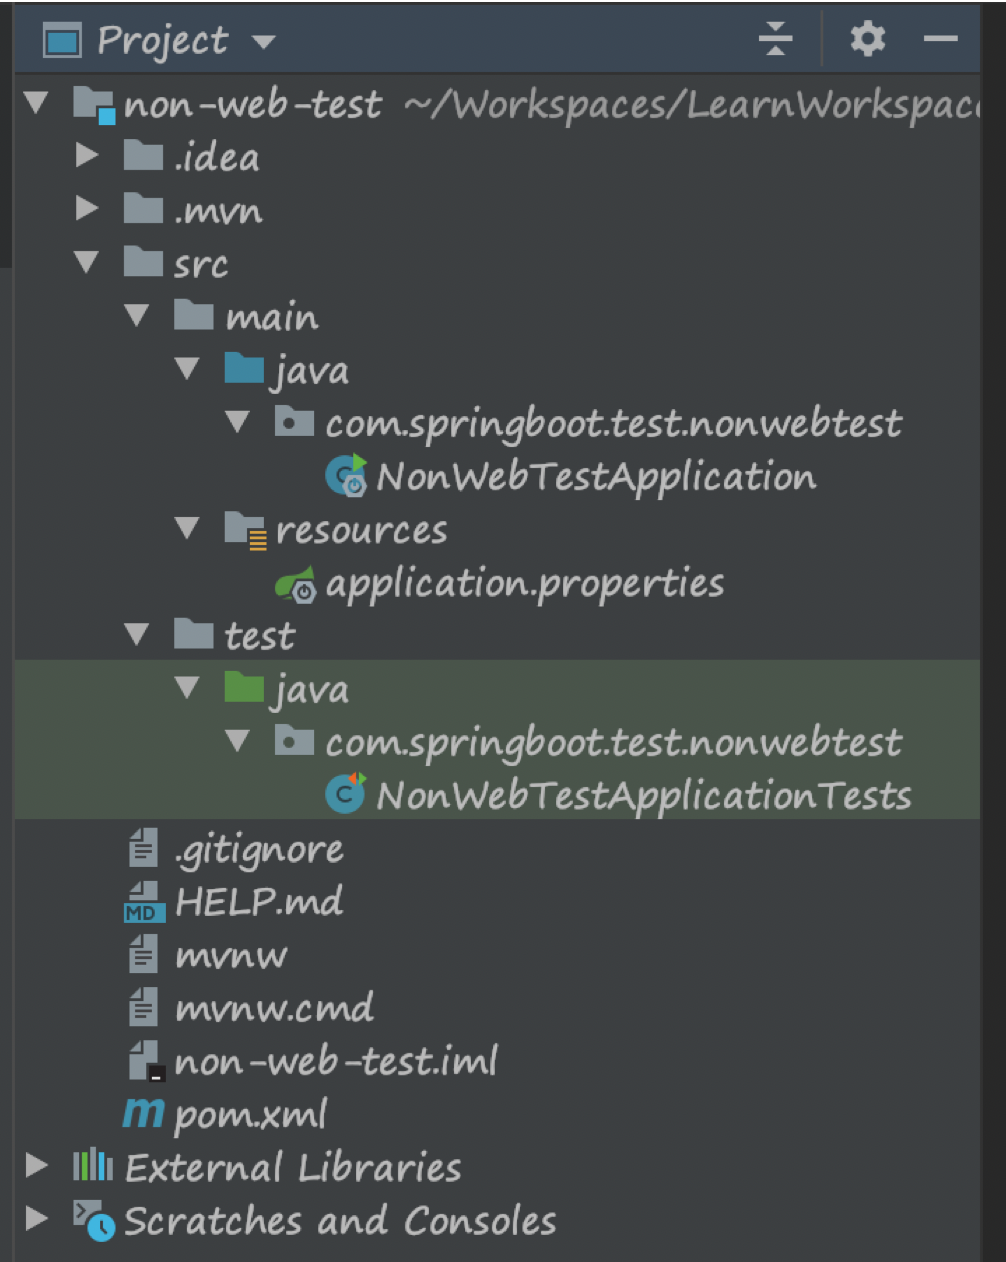
如下是项目最初的目录结构
2. 添加依赖
-
我们以最方便的方式来实现。在 pom.xml 中使用
spring-boot-starter-parent父项目。 -
当然,使用初始化工具生成之后,spring就帮我们添加来一些依赖,当前文件内容如下。
<?xml version="1.0" encoding="UTF-8"?>
<project xmlns="http://maven.apache.org/POM/4.0.0" xmlns:xsi="http://www.w3.org/2001/XMLSchema-instance"
         xsi:schemaLocation="http://maven.apache.org/POM/4.0.0 https://maven.apache.org/xsd/maven-4.0.0.xsd">
    <modelVersion>4.0.0</modelVersion>
    <parent>
        <groupId>org.springframework.boot</groupId>
        <artifactId>spring-boot-starter-parent</artifactId>
        <version>2.2.1.RELEASE</version>
    </parent>
    <groupId>com.springboot.test</groupId>
    <artifactId>non-web-test</artifactId>
    <version>0.0.1-SNAPSHOT</version>
    <name>non-web-test</name>
    <description>Demo project for Spring Boot</description>

    <properties>
        <java.version>1.8</java.version>
    </properties>

    <dependencies>
        <dependency>
            <groupId>org.springframework.boot</groupId>
            <artifactId>spring-boot-starter</artifactId>
        </dependency>

        <dependency>
            <groupId>org.springframework.boot</groupId>
            <artifactId>spring-boot-starter-test</artifactId>
            <scope>test</scope>
            <exclusions>
                <exclusion>
                    <groupId>org.junit.vintage</groupId>
                    <artifactId>junit-vintage-engine</artifactId>
                </exclusion>
            </exclusions>
        </dependency>
    </dependencies>

    <build>
        <plugins>
            <plugin>
                <groupId>org.springframework.boot</groupId>
                <artifactId>spring-boot-maven-plugin</artifactId>
            </plugin>
        </plugins>
    </build>

</project>
3. 获取applicationContext
- 因为需要调用service,我们需要拿到 applicationContext。通过提供如下类来提供一个获取applicationContext的方法。
@Component
public class SpringUtil implements ApplicationContextAware {

    private static ApplicationContext applicationContext = null;

    @Override
    public void setApplicationContext(ApplicationContext applicationContext) throws BeansException {
        if(SpringUtil.applicationContext == null){
            SpringUtil.applicationContext  = applicationContext;
        }
    }

    //获取 applicationContext
    public static ApplicationContext getApplicationContext() {
        return applicationContext;
    }

}
4. 创建一个测试service接口及实现类
- 这个大家应该轻车熟路了,不做过多解释,直接上代码。
public interface DemoService {
    void addTest(int a, int b);
}
@Service
public class DemoServiceImpl implements DemoService {
    @Override
    public void addTest(int a, int b) {
        System.out.println("a + b = " + a + b);
    }
}
5. 修改启动类
-
总共有两步:
- 启动的时候指定以非 web 模式启动。
- 我们需要模拟 main() 方法的启动,那就需要在启动的时候执行一些方法。可以通过 实现
ApplicationRunner或者实现CommandLineRunner来实现。此处使用实现ApplicationRunner来展示。
@SpringBootApplication
public class NonWebTestApplication implements ApplicationRunner {

    public static void main(String[] args) {
        new SpringApplicationBuilder()
                .sources(NonWebTestApplication.class)
                // 指定非 web 模式
                .web(WebApplicationType.NONE)
                .run(args);
    }

    @Override
    public void run(ApplicationArguments args) {
        ApplicationContext applicationContext = SpringUtil.getApplicationContext();
        DemoService demoService = applicationContext.getBean(DemoService.class);

        List<String> dateList = args.getNonOptionArgs();
        if (CollectionUtils.isEmpty(dateList) || dateList.size() != 2) {
            demoService.addTest(0, 0);
            return;
        }

        int a = Integer.parseInt(dateList.get(0));
        int b = Integer.parseInt(dateList.get(1));
        demoService.addTest(a, b);
    }
}
3. 验证结果
打包
mvn package
然后运行看一下
cd target
java -jar non-web-test-0.0.1-SNAPSHOT.jar 5 6
结果

- 该执行的已经执行,并且项目也已完美结束。
4. 得瑟一下
- 看到上面的运行结果,是不是与之前非web项目运行的一样呢。。
- 最关键的是直接命令后面跟参数,,是不是与执行了一个脚本的感觉有点像。
原文地址:https://my.oschina.net/shadowolf/blog/3129911